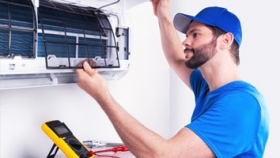
Installing a split AC unit is an easy but tricky job. In case of any mistakes during AC installation process, your money is wasted and the unit won't be productive at all. Here we are going to teach you how to install a split AC unit in 7 simple steps.
We have already talked about different AC components and also necessary tools to install and repair AC units. So, with that information in mind, now you are ready to install your air conditioner unit.
1. Select the proper AC unit to install
Before selecting an AC unit for your home or office, you should consider some factors like the capacity of the unit, the climate of the area and the usage of the unit.
Note: always consult with an expert for selecting your AC unit with the proper capacity.
2. Installing the AC indoor unit
Choosing the best place for AC installation
The AC indoor unit should be installed in a place with specific distance from the floor and the ceiling. The height of its installation place is so important because the unit suctions the air from the top and sends out the ventilated air from the dampers at the bottom.
The best height for the AC indoor unit is 2.30 cm from the floor. There should also be a clearance of 20 cm between the unit and the ceiling.
Note: if the height of your wall is shorter or taller than the standard height, it's better not to use this kind of air conditioners.
There should also be a clearance of at least 10 cm in both sides of the AC unit.
Installing the AC indoor unit on the wall
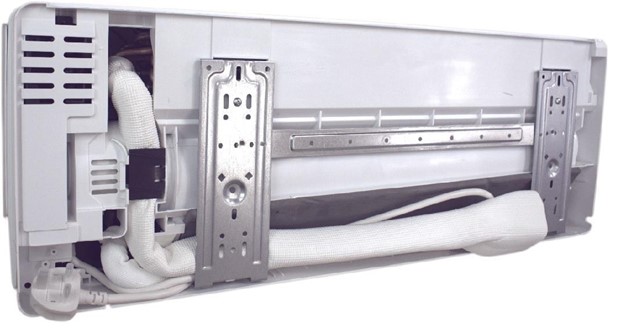
First, the installation mount should be fixed on the wall. In order to do that, you should use a level tool to assign the proper place for the screws.
Note: if the AC is not level after installation, there would be various faults like AC vibration, AC leaking and also the blower damage.
Connecting the drain pipe during AC installation
The air conditioner unit absorbs heat and humidity of the room and makes it cool. Some water is accumulated in the drain tray during this cooling process. So, a drain pipe should be connected to the unit to lead this water out.
Note: the diameter of the drainpipe shouldn't be less than 1 inch.
Tip: if there is a long way between the AC indoor unit and the place to drain the water, a drain pump should also be used.
3. Piping in AC installation
Observing the standards of height and length of the piping
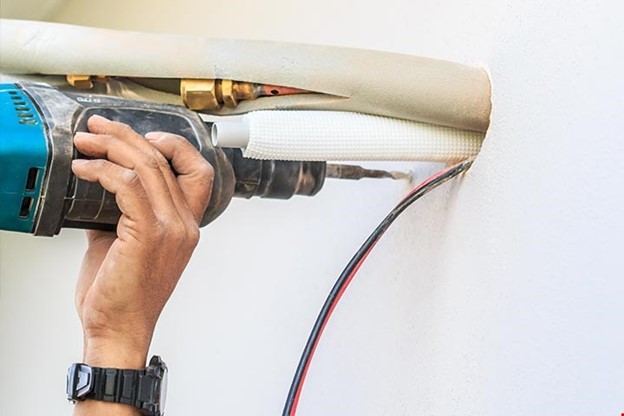
Every AC system has its specific standards for the piping between the indoor and outdoor units, based on its model.
There should be at least 5 to 7.5 meters piping between the indoor and outdoor units. But there isn't any specific standard for the minimum piping length. So the two units can be installed at the same level.
Using oil trap during AC installation
If the indoor unit is installed lower than the outdoor unit, there should be one oil trap for every 5 to 7.5 meters.
If some parts of the piping are bent in the shape of a circle or 2 half circles, don't worry! this is called the oil trap. The oil trap doesn't let the oil to get back to indoor unit when the compressor is off.
Tip: accumulating oil in AC unit causes erosion. Suctioning this oil when the compressor starts again, can damage the whole system.
Insulating the pipes and ducting in AC installation
All the pipes leaving the AC unit should be insulated to be properly protected. Also, if they are fixed on the wall and are visible, it's better to do the ducting and hide them inside the ducts to have a better look.
4. Connecting the electric cables between the two units in AC installation
The cables can be 2.5, 4 or even higher based on the model and capacity of your air conditioner unit. The phase, neutral and earth cables are used in all kinds of AC units.
Tip: shield cables should be used in inverter air conditioners because in these units, the commands are sent through this kind of cables.
Note: it is necessary to use an earth wire during AC installation. Otherwise, the unit will be damaged.
Warning: If it is necessary to connect two cables or wires to each other, use the electric terminals not the electric tape.
5. Installing the outdoor unit
Finding the best place to install the AC outdoor unit
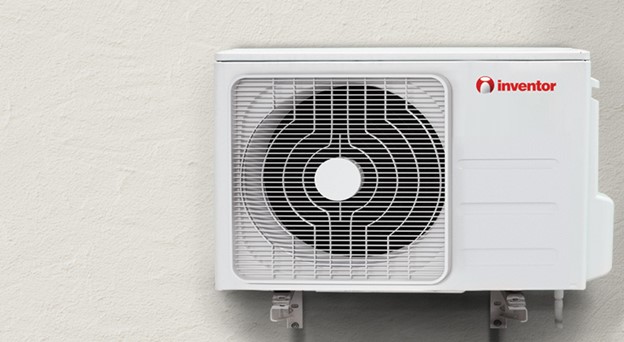
Install the outdoor unit in a safe, dry and well-ventilated place. When installing an AC outdoor unit, you need at least 30 cm clearance at the back, 70 cm in the front, 60 cm on the side with the valves and 30 cm on the other side. Leaving this space is necessary for better ventilation and easier access for the serviceman.
Installing the mounts of the AC outdoor unit
There are different mounts for installing the AC outdoor unit according to the place it is installed, on the ground or on the wall.
Note: use rubber pads for absorbing vibration caused by compressor and fan function.
6. Testing, vacuuming and charging
Leak detecting after AC installation
The tubes should be checked for any Leak. In order to do so, the pipes are filled with nitrogen and then their pressure is measured in a specific duration of time.
Vacuuming the AC tubes after installation
The AC tubes should be free of any moisture and oxygen. they can mix with the AC refrigerant and disrupt the cooling process. So, the vacuum pump is used to create a total vacuum inside the tubes.
Charging extra refrigerant into the AC unit
If the piping length between the two units is more than the standard length, it is necessary to charge extra refrigerant into the unit for every metre of the extra length. Otherwise, the AC won't cool properly.
7. Running the AC unit after completing the installation
Refrigerant pressure test
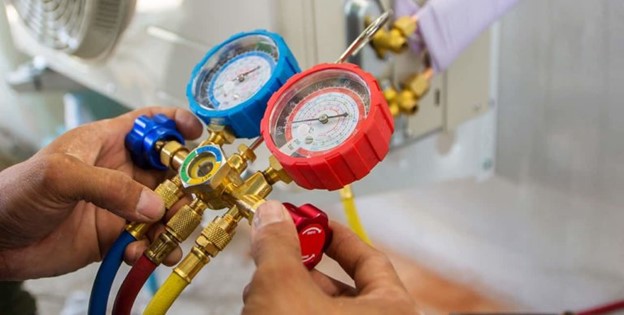
Before starting the AC unit, the refrigerant gas pressure should be checked using a manifold gauge. If it is in the standard range, the AC is ready to run.
Doing the test run procedure
When all the above measures are taken, the AC is run for 18 minutes in cooling mode with the high fan rotation without considering the room temperature. In case of any command from the control board, the test run is stopped. Now that you are sure the AC is installed properly, you can turn it on to have a pleasant time in your house or office.
If you watch the AC training course video in HelloTechnic website, you can learn all these procedures in detail through films and animation. Our technicians will also teach you all the information about air conditioners’ service, troubleshooting and repair to make you an HVAC expert.

