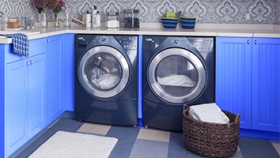
In this article we are going to teach you how to install your washing machine in 7 easy steps. Washer installation isn't a very complicated job and doesn't need any expert tools. We have already talked about necessary tools for appliance repair. If you've had a washing machine before, the installation place is ready now and you should just remove the old one and locate the new one in its place. In order to do that, follow these steps.
1. Remove the transit bolts before washer installation
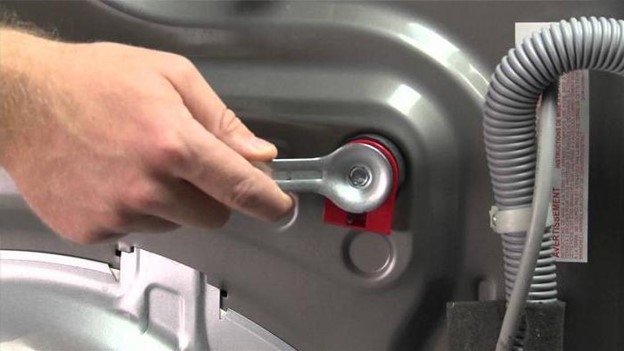
The washing machine has at least 5 or 6 transit bolts at the back, to keep the internal components secure while moving the washer into its new place. You should remove these bolts before washing machine insulation. There is an especial wrench for removing these bolts which is always among washer accessories. Use the wrench to remove the bolts, then insert the plastic caps that has been delivered with your washer into the holes left by removing the bolts. Push them with your hands to fix inside the holes.
Tip: if the transit bolts are not removed before washer insulation, it will have a loud noise while working, especially during the last spin.
Note: store the transit bolts in order to reuse them when moving the washer once again.
2. Locate the washing machine in its place
The washing machine should be installed on a level and firm surface. Make sure there is enough airflow around your washer.
Note: it's better to keep at least 10 cm clearance space at the back of the washer and 2 cm on both sides when installing the washing machine.
Warning: never locate your washing machine in a room the temperature of which is under 0˚C. The hoses will freeze and crack and the control buttons won't work.
If you have to locate your washing machine beside the oven or any heating appliances, place an aluminium foil insulated plate between the washer and the oven.
At last, make sure the washer can easily be moved for any probable service or repair.
Note: never locate your washing machine on a carpet while installing it.
3. Level the washing machine
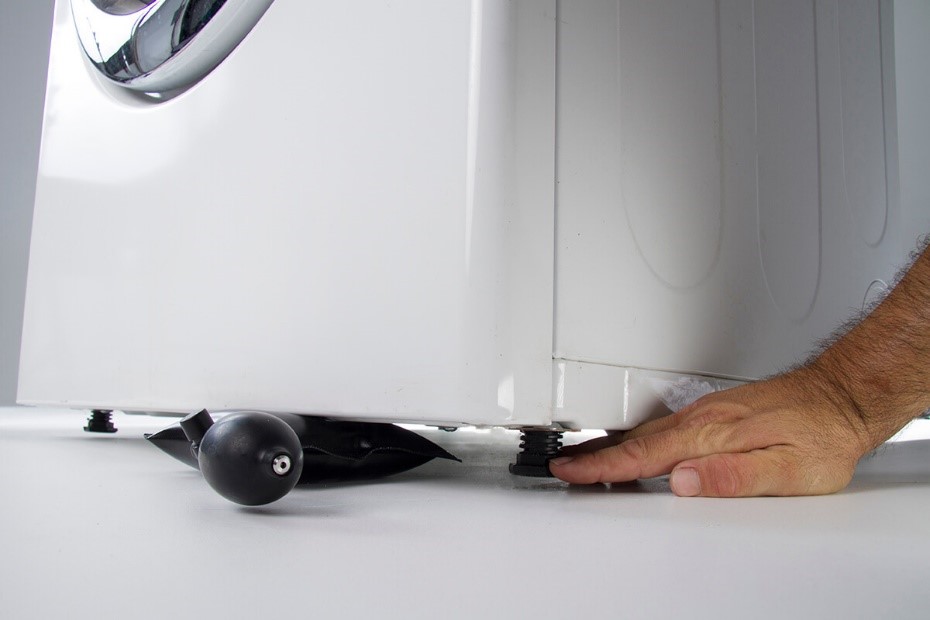
Use a spirit level tool to adjust your washing machine during installation. If it isn't level, use the leveling legs to do so. You can easily tilt your washer a little backward and turn the legs with hand or if necessary with a wrench, to make them shorter or higher.
Note: never use wood pieces or any other material to level your washing machine when installing it.
Tip: it's better for your washing machine to be declined 1 degree backward.
4. Check the inlet water pressure to the washing machine
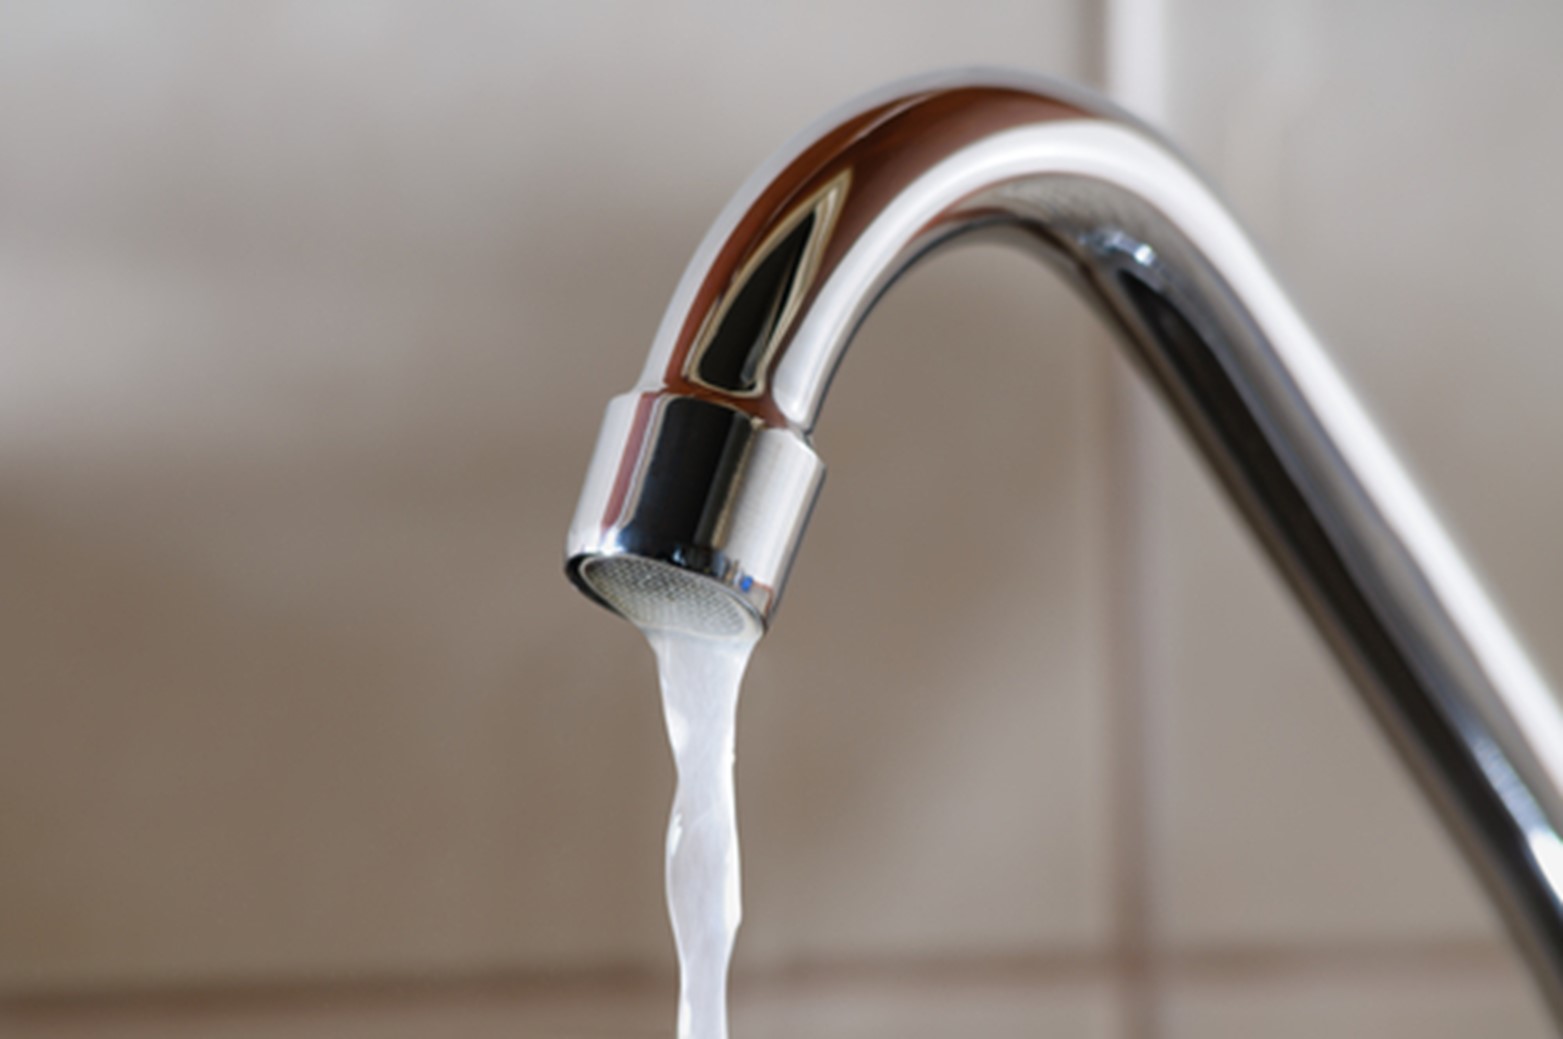
Turn on the nearest cold water tap to your washing machine to check the water pressure before washer installation, because the low water pressure doesn't let the washing machine to work properly. If the water flow from the tap is thinner than your finger, it isn't appropriate for the washing machine and the whole piping system should be checked.
Tip: the water flow rate should be at least 1 liter per 7 seconds or the water pressure should be between 30 to 1000 kilopascal.
Note: If the pressure is more than 1000 kilopascal, a pressure reducing valve should be installed.
5. Connect the washing machine inlet hose
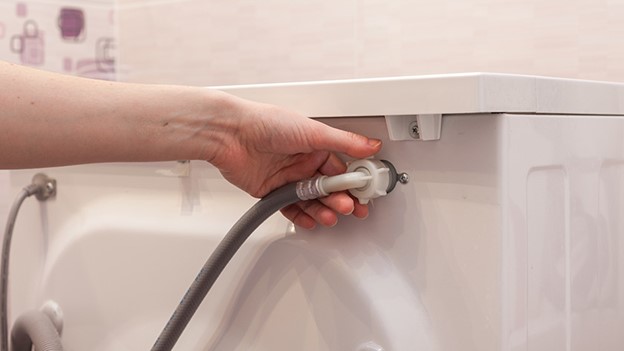
The main water inlet hose of the washing machine should be connected both to the water inlet valve and the washer. The hose end which has a right-angle connector should be attached to the washing machine and the other end with a straight connector is attached to the inlet valve. Tighten the connectors by hand in clockwise direction.
Note: check both connectors have rubber gaskets in place to prevent leaking after installation.
Tip: if the washing machine is connected to two water inlet valves, the red valve is the hot water. Using hot water valves can save energy because the washer doesn't need extra energy to heat the water.
6. Connect the washing machine drain hose
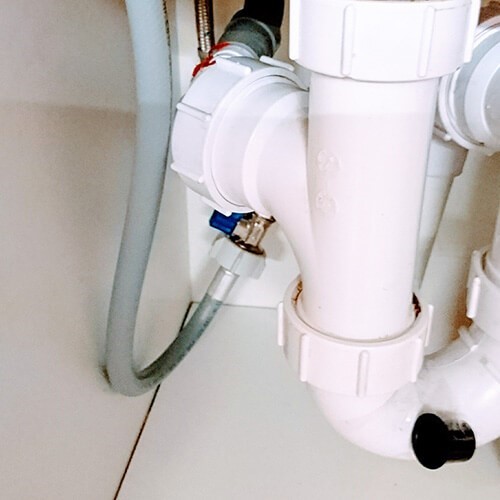
The drain hose of the washing machine can be directly inserted inside the waste water exist hole in the wall at the back of the washer or can be attached to drain installations of the sink or even can be located inside the sink.
Tip: the height of the drain hose should be 1 meter in any of the above conditions in order for complete draining.
Note: if you place the hose inside the sink, make sure it is fixed to the faucet using a band or a piece of cloth.
Note: make sure the hose is not bent or twisted.
7. Connect the washing machine to the main power
Never plug your washing machine into an extension socket after installation. It should be directly plugged into a main wall socket and make sure the socket has the earth connection.
The washing machine should be installed in a place near the main socket in order not to use the extension cord.
Here we mentioned simple points for washing machine installation. If you need to have more specific information and watch the installation process closely, don't miss washing machine training course in HelloTechnic website. Our experts have used films and animation to teach you all important information about washing machine installation, service, troubleshooting and repair.

